
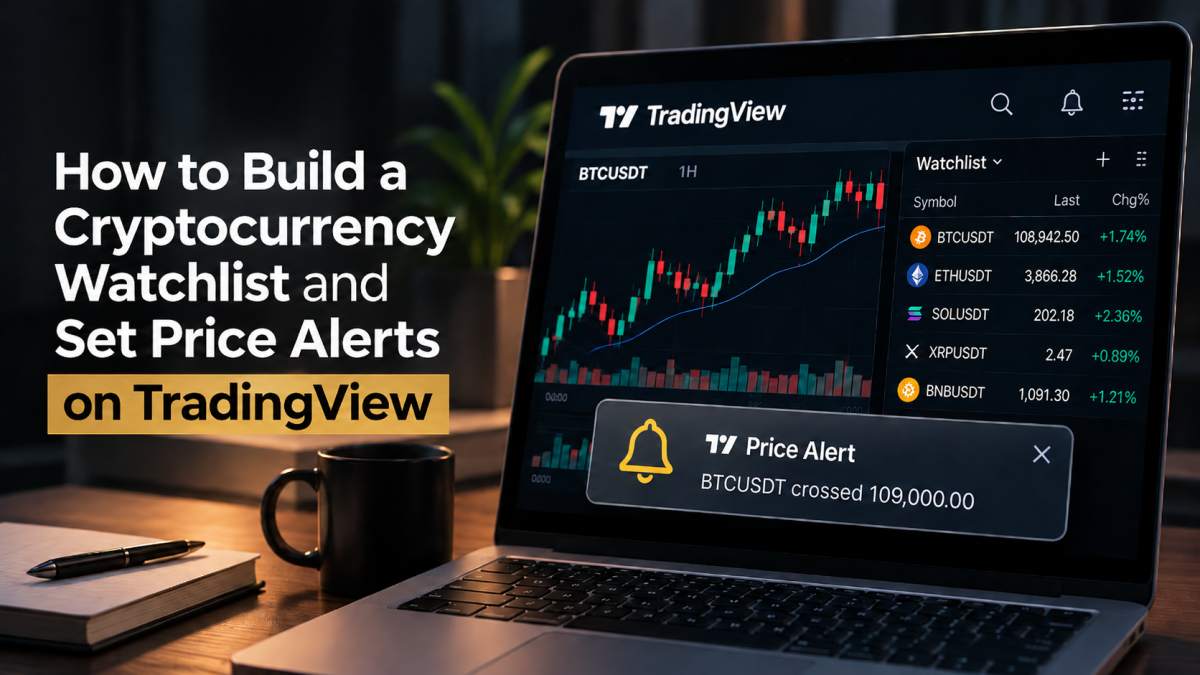
A watchlist is most useful when it answers a simple question: which markets are worth checking, and what price would make you look again? TradingView brings both jobs into one workspace. You can group cryptocurrency pairs, compare basic market data and set alerts that notify you when a price reaches a level you have chosen.
The important part is choosing the right market feed and keeping the alert settings clear. A symbol such as BTCUSDT can refer to different exchange markets, while an alert can expire or behave differently depending on its trigger condition. This guide walks through a practical setup using TradingView’s web interface. The same features are available in the desktop and mobile apps, although menu placement can differ.
Before you start
You will need a TradingView account and a shortlist of the cryptocurrency markets you want to monitor. You do not need to connect an exchange account or place a trade to create a watchlist or a basic price alert.
Decide which market you intend to follow before adding a symbol. Bitcoin quoted in US dollars is not the same instrument as Bitcoin quoted in USDT, and the price feed from one exchange may differ slightly from another. If you normally analyse a particular exchange’s market, choose that exchange’s symbol rather than selecting the first result with a familiar ticker.
It also helps to decide what belongs in the list. A focused watchlist might contain the major pairs you follow regularly, a second list for assets you are researching, and a separate list for markets you already hold. Avoid adding every token you have heard of; a list that is too large becomes another stream of noise.
Create a cryptocurrency watchlist
- Open the Watchlist panel. In TradingView’s charting workspace, select the Watchlist icon on the right-hand toolbar. This opens the list panel.
- Create a new list. Open the dropdown beside the current watchlist name and choose the option to create a new watchlist. Give it a name that describes its purpose, such as “Crypto Markets” or “Research List”.
- Search for the first market. Select the plus button to open Symbol Search. Choose the relevant asset type, enter the ticker or trading pair, and review the exchange shown beside each result.
- Add the correct symbol. Select the plus icon beside the exact market you want. The symbol will appear in the list. Repeat the search for each additional pair.
- Check the result before moving on. Select each entry and confirm that the exchange, quote currency and market description match the instrument you intended to follow.
TradingView places newly added symbols at the bottom of the list. You can drag them into a different order. Its official watchlist guide also explains how to add sections, change the displayed metrics and use the advanced view.
Organise the list so it stays useful
For a longer list, sections make it easier to separate markets without creating dozens of individual watchlists. Open the watchlist-name dropdown and choose Add section. You could use sections such as “Major pairs”, “Layer 1 networks” and “Research”. The labels are for organisation, not a statement about an asset’s quality.
The three-dot menu in the watchlist panel lets you adjust which columns are visible. Last price, price change, percentage change and volume are useful starting points. Select a column heading to sort by that measure. If you find yourself reacting to every percentage move, remove columns that do not help answer the question you are monitoring.
Set a price alert on a cryptocurrency pair
A price alert is a notification, not an order. It does not buy or sell an asset, reserve a price or guarantee that you will receive a notification before a fast market move has passed. It simply tells you when the selected market meets the condition you configured. It also does not require an exchange connection. For this basic workflow, you do not need API keys or a webhook; never put passwords, API credentials or other secrets in alert names or messages.
When setup is complete, you should have a named watchlist containing the exact exchange-specific pairs you chose, plus active alerts visible in Alert Manager with the intended condition and expiry. Check an alert’s details before relying on it; the notification is a prompt to review the market, not an instruction to act.
- Open the market’s chart. Select the symbol in your watchlist to load it in Supercharts. Check the exchange and quote currency again before setting an alert.
- Choose a price level. Decide what price would make the market worth reviewing. The level should have a reason behind it, rather than being chosen only because it is a round number.
- Open the alert dialogue. Use the Create alert button on the chart’s upper toolbar, open Alert Manager and choose Create alert, or hover over the price scale and select the plus button beside the level. TradingView also documents the keyboard shortcut Alt+A on Windows and Option+A on macOS.
- Choose the trigger condition. Select the condition that matches your intention. A crossing condition is different from a condition that simply requires price to remain above or below a level. Read the wording in the dialogue carefully.
- Set the frequency and expiry. Choose whether the alert should trigger once or repeatedly, then set its timer. Give it a recognisable name, such as “BTCUSDT above review level”, so it is easy to identify later.
- Select how you want to be notified. Depending on your setup, TradingView offers app notifications, browser pop-ups, email and sound. Enable the relevant permissions on your device or browser if you choose pop-up or app notifications.
- Create the alert and check Alert Manager. Confirm that it appears in the active list with the correct symbol, condition and expiry. This final check catches mistakes before you rely on it.
TradingView’s alert setup instructions describe the available entry points and settings. Its broader alerts guide explains the difference between price alerts, technical alerts and watchlist alerts.
Understand alert limits and expiry
The number of active alerts you can keep depends on your subscription. TradingView’s current pricing table lists different limits across its plans, so check the live figures before building a workflow that depends on a large number of simultaneous alerts.
Expiry matters just as much as the alert count. TradingView’s help centre states that a standard alert can run for up to two months. It also documents an open-ended option for Premium and Ultimate plans. An alert that has expired will no longer monitor the price, even if the symbol remains in your watchlist. Review the expiry date in Alert Manager rather than assuming an alert stays active indefinitely.
There is also a separate watchlist-alert feature. It applies one condition across the symbols in a list, with each symbol tracked independently. That can reduce repetitive setup, but availability and limits depend on the subscription. Individual price alerts are easier to manage when different assets need different levels.
Common problems and how to fix them
The wrong market appears in the chart
Search results can contain several versions of the same ticker. Remove the incorrect entry and add the symbol again after checking the exchange prefix and quote currency. Do not assume that two markets with similar names share the same price feed.
An alert has not triggered
Open Alert Manager and confirm that the alert is still active and has not passed its expiry time. Then check the exact condition. “Crossing” a level is not identical to remaining above or below it. Confirm that the alert is attached to the intended symbol and market feed.
An alert behaves differently after changing an indicator
This is relevant to technical alerts rather than simple price-level alerts. TradingView says alerts created on indicators, strategies and drawing tools depend on the chart interval. It also notes that changing an indicator’s parameters after an alert is created does not update the existing alert’s settings. Review the alert or create a new one after changing the indicator configuration.
The alert triggers but no notification appears
Check the notification options saved in the alert and the permissions on the device. Browser pop-ups require the browser to allow TradingView notifications; app notifications require the TradingView mobile app and the relevant operating-system permissions. If email is selected, check the address saved in your TradingView profile.
A simple routine for keeping the watchlist under control
Once the list is working, review it periodically rather than continually adding new symbols. Remove markets you no longer follow, confirm that the remaining entries still use the intended exchange feeds, and review active alerts for stale levels or approaching expiry dates.
Keep alert names descriptive and use a small number of conditions that have a clear purpose. Too many alerts can create the same problem as too many watchlist entries: important signals become harder to distinguish from routine market movement. If an alert fires, treat it as a prompt to review the market and your own plan, not as an instruction to trade.
For a broader look at TradingView’s charting tools, plans and limitations, see our TradingView review. The review covers the platform at a product level; this guide focuses on setting up a practical watchlist and price-alert workflow.
Research note: This guide was prepared from TradingView’s official Help Centre and pricing information, checked on 12 November 2026. It is desk research; no live TradingView account testing was performed. Interface labels and subscription limits can change, so check the current in-product settings and official documentation before relying on them.
Comments